
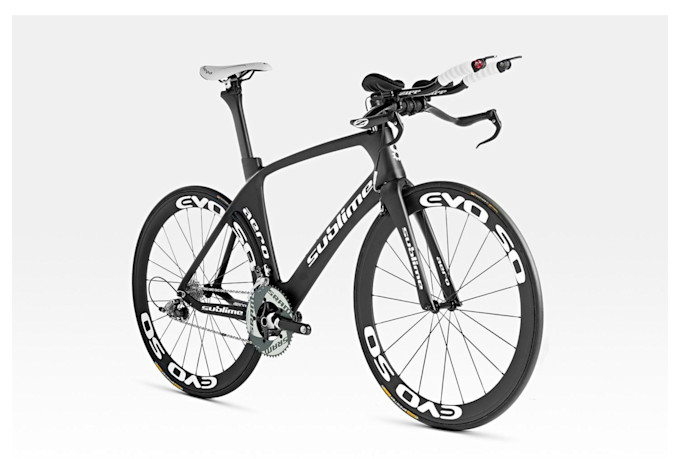
Product photography includes capturing a solitary item independent from anyone else with a plain foundation to expel any interruptions and spotlight the watcher’s consideration on the item.
While rehearsing item photography can be fun in of itself, it is especially significant in the event that you need to sell things on eBay or through your own site. A decent item picture can make your postings progressively viable and increment your deals.
To set up a territory for item photography:
You can utilize a table pushed against a divider. Utilize a bit of enormous white card and join one end to the divider and one end to the table. Be mindful so as to guarantee the card has a bended curve where it goes from the divider (vertical) to the table (flat) as you need to maintain a strategic distance from any wrinkles in the card. This will make a white consistent foundation for your item photography.
Next set up two or three lights or flashes:
To light your item and the foundation. A two light arrangement can bring about much preferable photographs over depending on common light. The capacity to control the power, shape, size, and position of lighting gives you a lot more prominent command over how the photographs will look.
Continuously on hot lights, little speedlights, and full size glimmer strobes will all function admirably for lighting, insofar as you have some method for controlling their capacity yield. Utilize light stands to hold your lights set up, this will keep the lighting predictable between shots. Your lighting should be diffused else you will wind up with cruel shadows that occupy from the item.
To diffuse the lighting, there are a huge of extras accessible:
Some basic dispersion systems are utilizing a softbox, reflector, shoot through umbrella, or intelligent umbrella. These join to your lights or the light stands. Diffusing the light will help bring out surface and detail in the item without causing cruel shadows and cut features.
On the off chance that utilizing streak units for lighting (instead of consistently on hot lights), you will require some method for setting off the flashes. You can utilize streak synchronize lines that associate the blaze units to the camera, or radio trigger units. Some speedlights can likewise be activated by an infra-red sign from your camera’s spring up streak.
Position your item on your background:
Exclusive service on fiverr By peter_50hz
Set up your camera on a tripod. For item photography a central length of 35mm – 100mm will function admirably, giving you a sensible working separation between the camera and the item. Step through some examination shots, modify the splendor of your lights as vital, and position the lights to give satisfying lighting. Two lights pointing down at the item 45° to either side from the front functions admirably much of the time.
On the off chance that you might want a reflection underneath your item, place the item on a bit of perspex plastic. Take shots down at a slight edge to remember the reflection from the perspex for the picture.
Take an assortment of shots of your item:
At various points, and some detail shots. When you have your illuminating set effectively, taking extra photographs ought to be only an instance of changing the situation of the item, and perhaps modifying your camera position marginally.
Contingent upon the size of your item, a full scale focal point might be required for taking subtlety shots. Large scale focal points are exceptionally intended to have the option to center at close separations, and keep up their sharpness, where with different focal points picture quality may corrupt at short separations. Know more visit the official website http://bit.ly/37xutwv
